
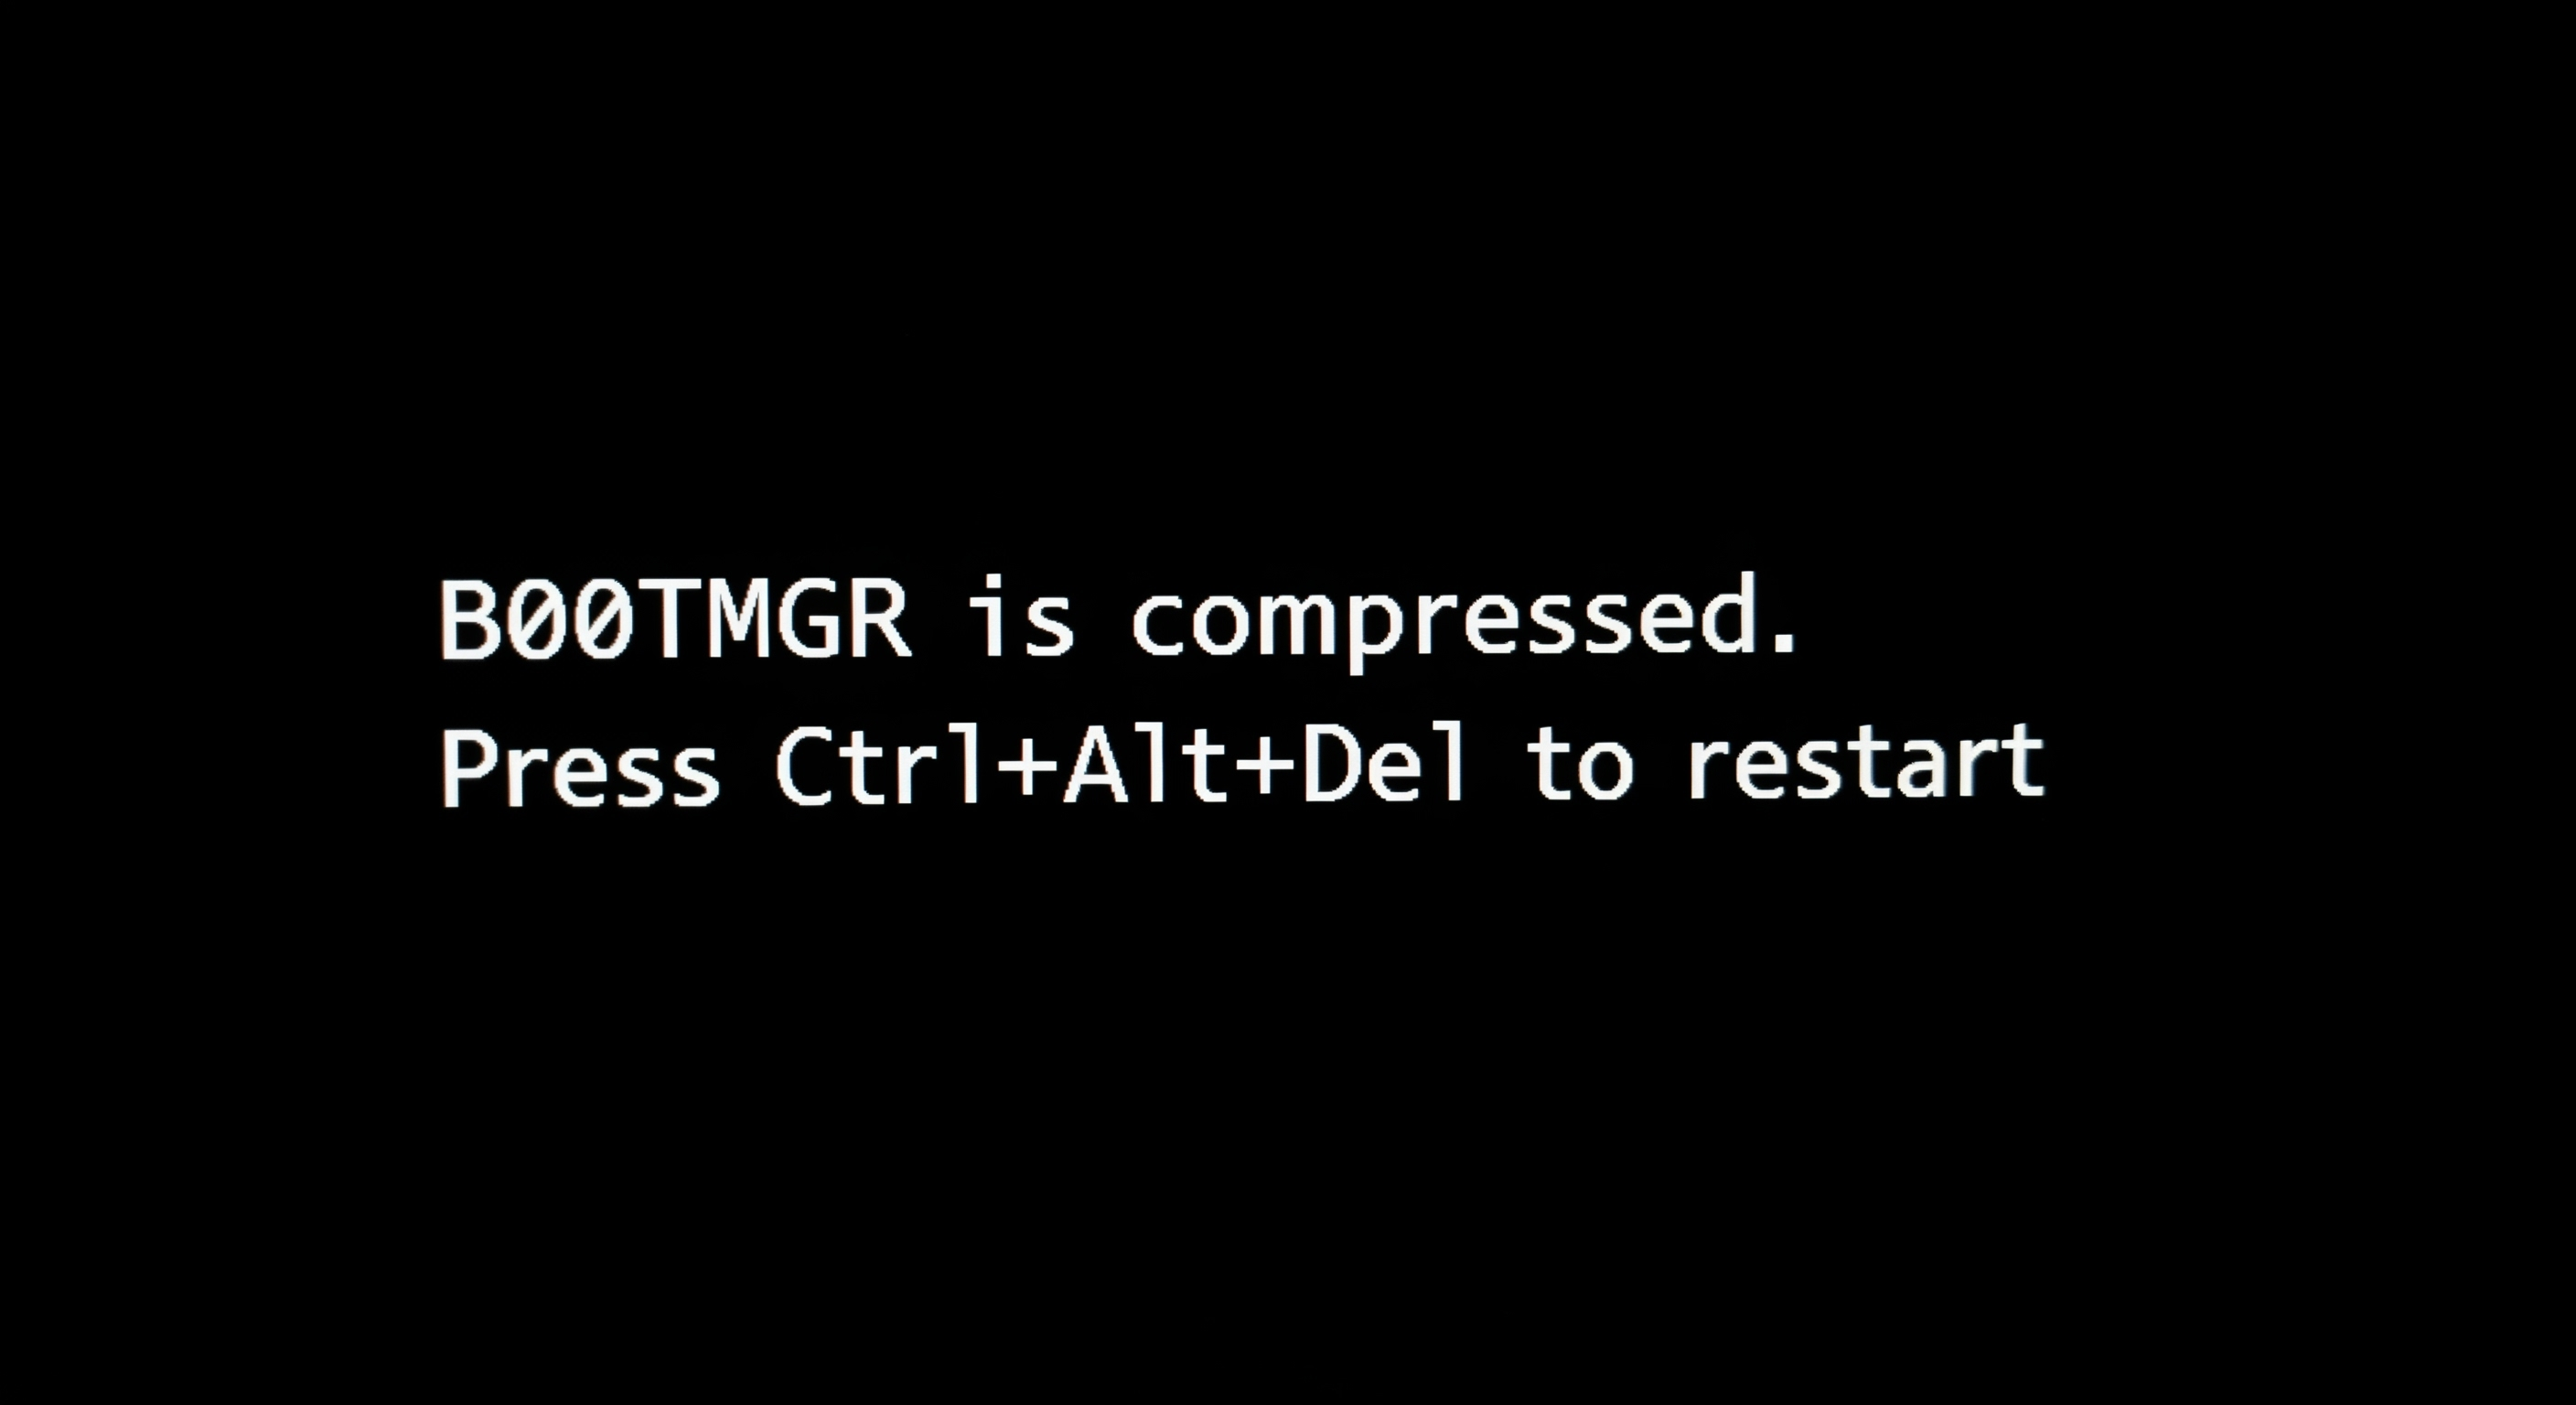
Are you encountering the "BootMGR is compressed" error when starting your Windows computer? This usually indicates that the boot file on your system drive (C drive) or its boot partition has been accidentally compressed, preventing the system from starting normally.
Don't worry! This article will thoroughly analyze the cause of this issue and provide clear, easy-to-understand steps and suggestions to help you resolve the "BootMGR is compressed" problem and get your computer booting again.
1) Root Cause of the Issue: Why Does "BootMGR is compressed" Appear?
The "BootMGR is compressed" error typically points to the Boot Manager (BootMGR) file or the partition where it resides being incorrectly set with the compression attribute. This can be caused by accidental operations, third-party software interference, or file system anomalies. Once the boot file is compressed, the system cannot load it correctly during startup, leading to boot failure.
2) Core Steps to Resolve "BootMGR is compressed"
The primary task in fixing this issue is to decompress the boot file or the system drive. Below are two common methods:
2.1) Method 1: Decompression via PE System (Recommended)
- Boot into the PE System: Ensure your PE USB drive can successfully boot your computer and enter the PE desktop.
- Locate the System Drive: In the PE environment, find your original Windows 7 system drive (usually the C drive).
- Check and Decompress:
- Right-click on the C drive letter and select "Properties."
- Under the "General" tab, look for a checkbox labeled "Compress this drive to save disk space" or similar.
- If this checkbox is selected, deselect it, and then click "Apply."
- The system will prompt you to confirm whether to apply the changes to drive C:, subfolders, and files. Make sure to select this option and click "OK."
- The decompression process may take some time, depending on the number of files on your C drive.
- Using Command Prompt (Alternative):
- If there is no direct compression option in the C drive properties, or if the issue persists after deselecting the checkbox, you can open the "Command Prompt" in the PE environment (usually found in the Start Menu or on the desktop).
- Type the following command and press Enter (assuming C is your system drive):
compact /u C:\ - If you suspect that only the BootMGR file is compressed, try the following command:
compact /u C:\bootmgr - If you encounter permission issues, try running the Command Prompt as an administrator.
2.2) Method 2: Repair via Windows system Installation Disc (For Cases Where PE is Not Operable)
- Boot using the Windows system Installation Disc: Insert your Windows installation disc or a bootable installation USB drive into your computer and set the BIOS to boot from it.
- Enter the Repair Environment: In the Windows installation interface, select your language, time, and keyboard input method, and then click "Next."
- Select Repair Your Computer: Click on the "Repair your computer" option located in the lower-left corner of the installation screen.
- Choose the Operating System: The system will automatically search for installed operating systems. Select your Windows system installation and click "Next."
- Open Command Prompt: In the "System Recovery Options" window, select "Command Prompt."
- Decompress: In the Command Prompt, first type
C:and press Enter to switch to the C drive. Then, depending on your needs, enter the following command to decompress the boot partition or the BootMGR file:- To decompress the BootMGR file:
compact /u bootmgr - To attempt to decompress the entire C drive (this may take a significant amount of time):
compact /u C:\
- To decompress the BootMGR file:
3) Important Note: Back Up Your Data!
Before performing any repair operations, if you have very important personal or work data stored on your C drive, please make every effort to back up this data to another hard drive or external storage device first. This is the most effective way to prevent data loss.
Hopefully, the steps and suggestions provided in this article will help you successfully resolve the "BootMGR is compressed" issue and allow your computer to boot normally!
Back to top
Comments